This article is a guide to managing a typical multi-page website built on Craft CMS. Its purpose is to provide clear and comprehensive answers to common questions from users who are new to administering a site on this content management system.
Admin Panel Structure
Every website is unique, which means its admin panel structure comes with its own distinct features and nuances. However, we’ll outline the core principles that tend to remain consistent across projects.
Global Data
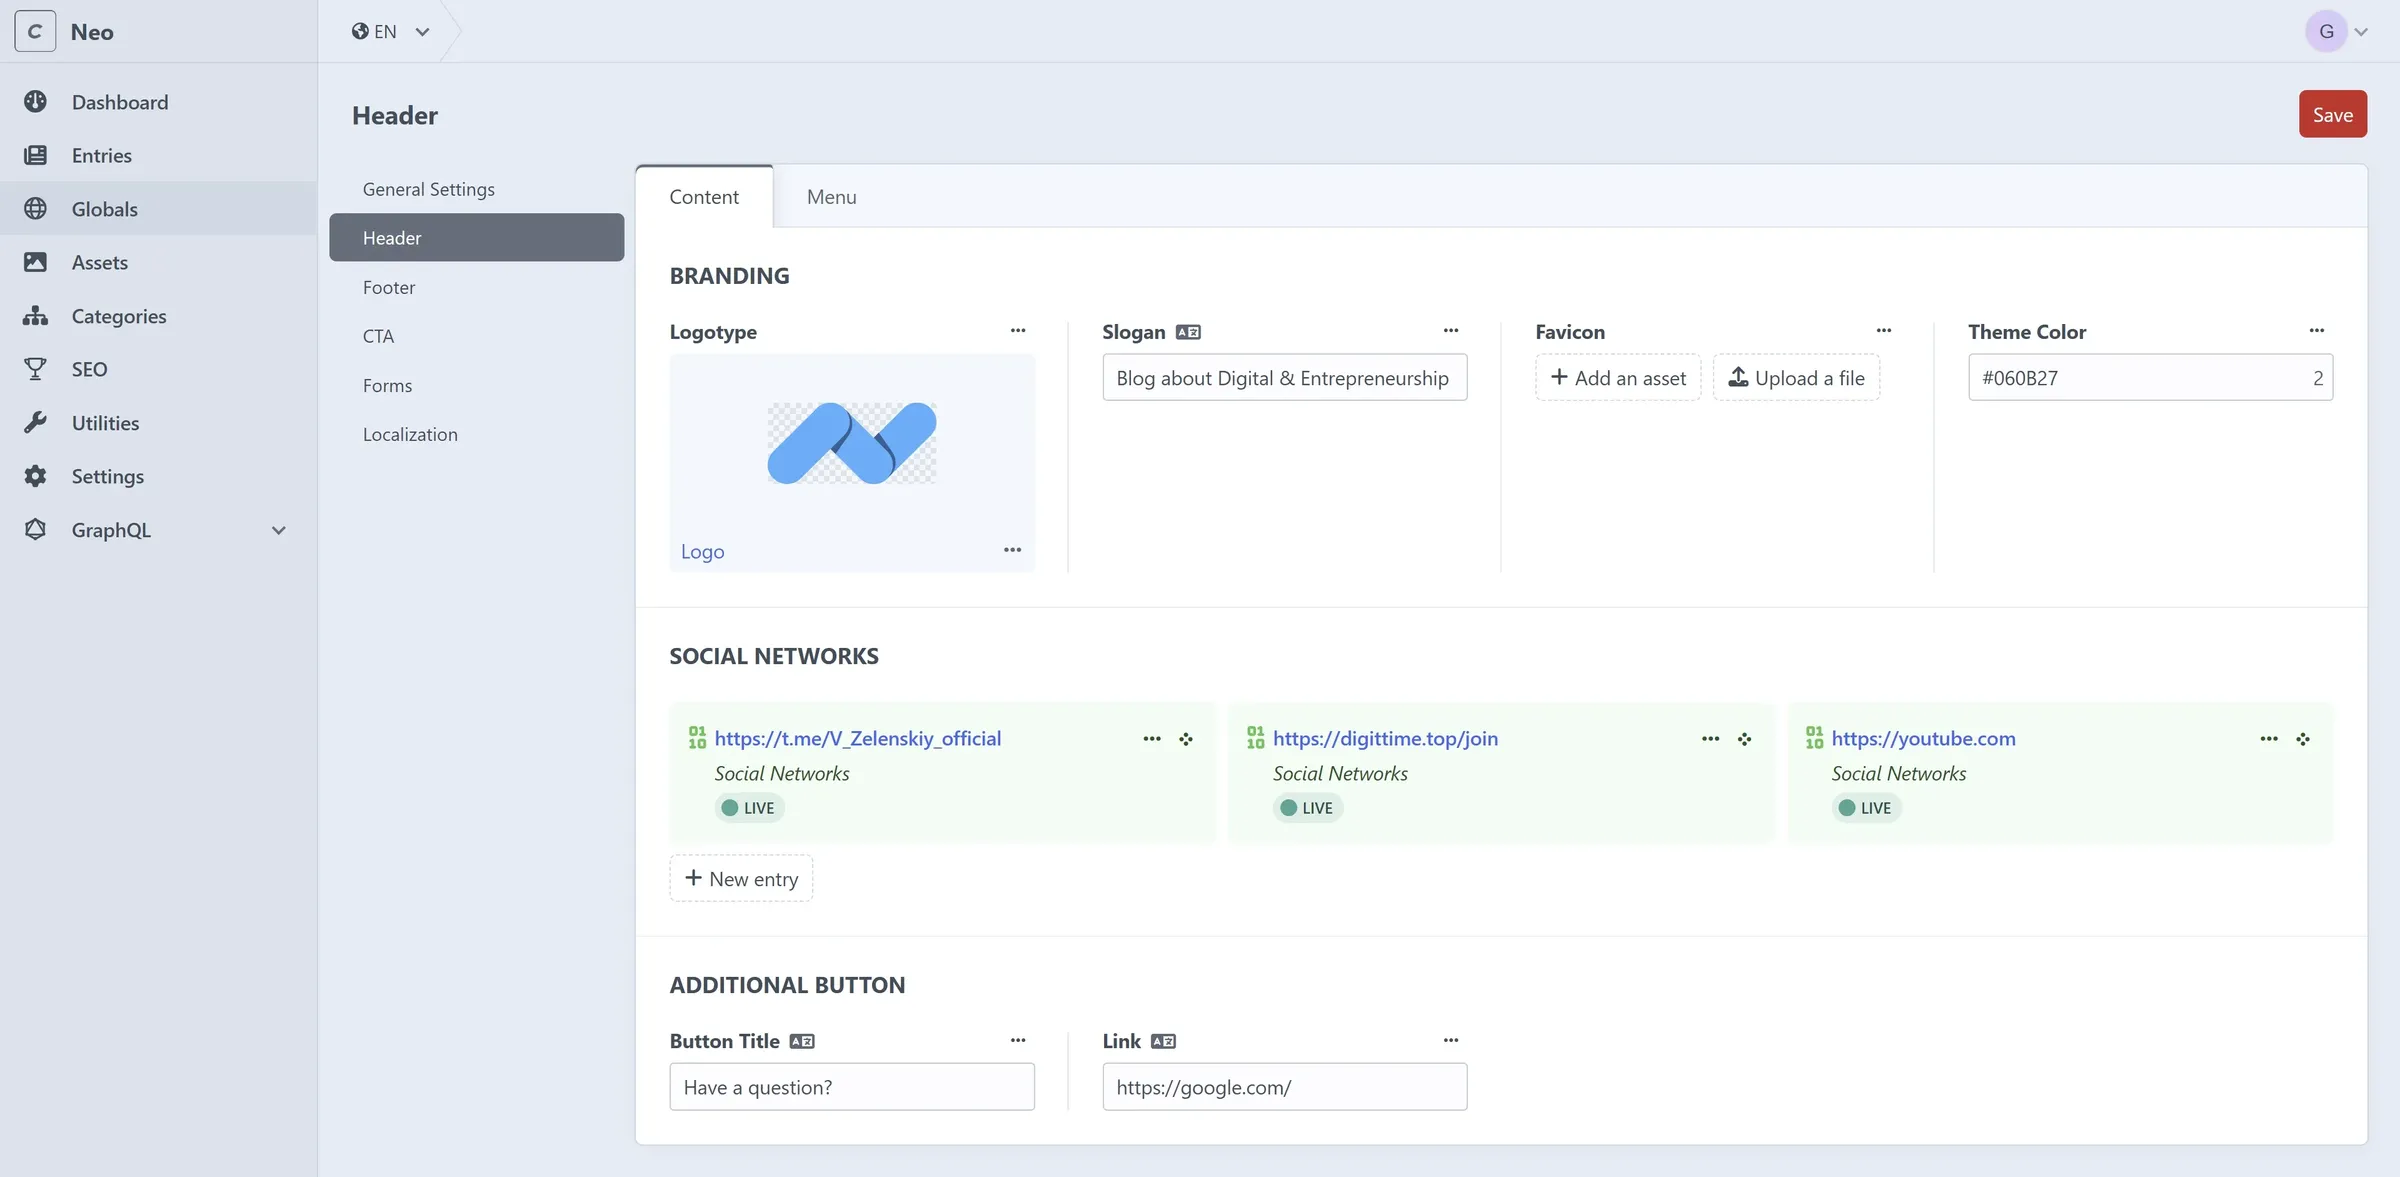
Global data includes design elements used across multiple pages of the site, such as the header, footer, contact form, and more. To edit header, select "Globals" -> "Header" from the left-hand menu.
Entries
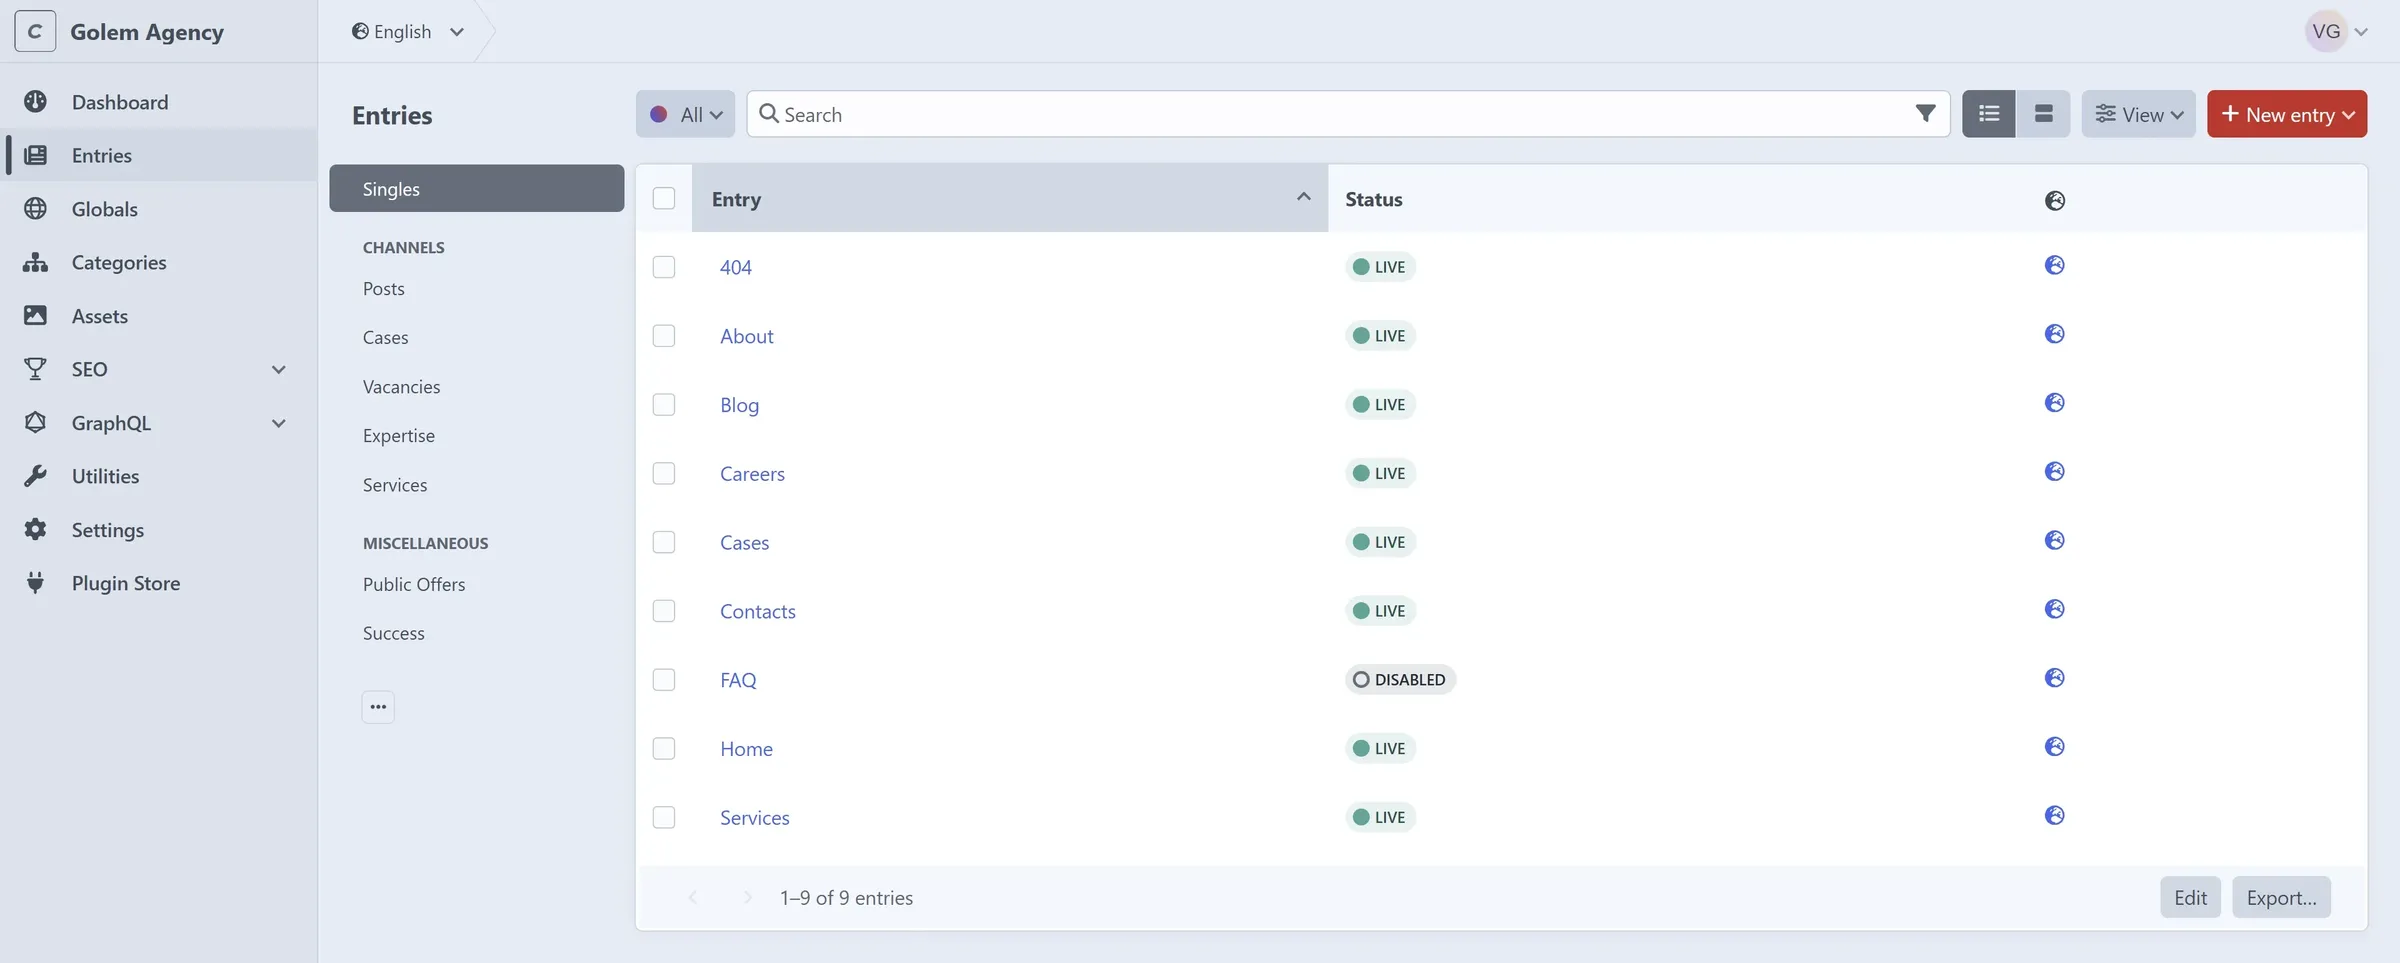
To edit pages, click Entries in the left menu. Pages are grouped by purpose. For example, the Singles group contains static pages (homepage, contacts, about us) set up by the developer during the site’s launch. You can edit them via the admin panel, but you can’t add or delete pages in this group.
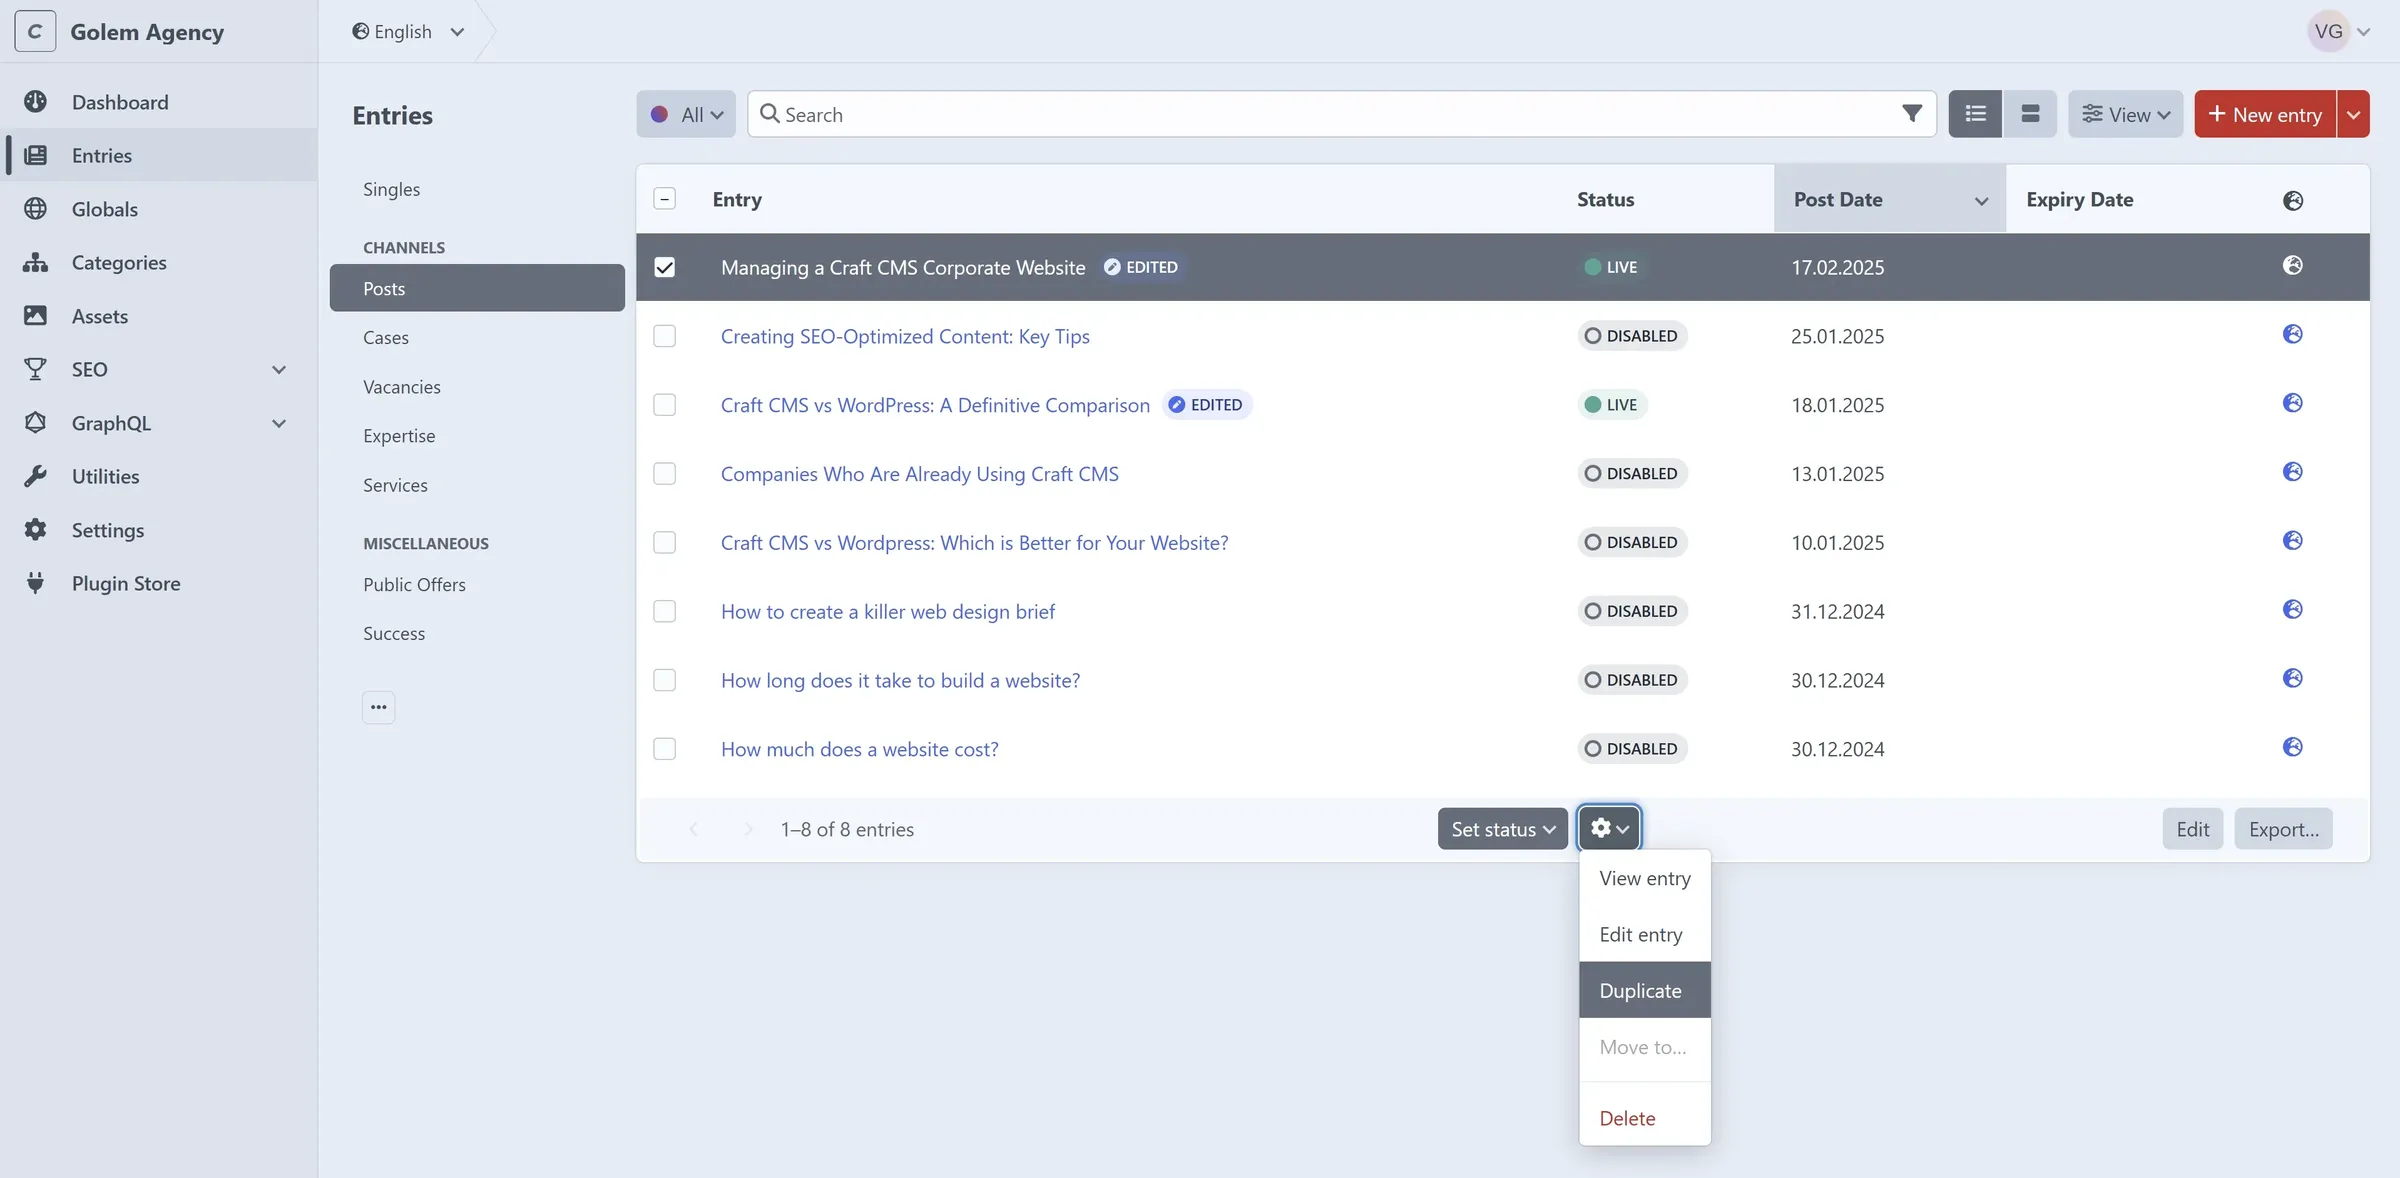
Under Channels, you’ll find page groups created and managed by the admin — blog posts, news, products, or services. Each group has a New Entry button in the top right to add a new entry. To customize columns and their order, click View. A common question: 'How do I duplicate a page?' Check the page’s box — a gear icon appears below. Click it and select Duplicate.
Categories
This section lets you create categories for products, services, or blog sections. In some cases, user groups can be added here, depending on the site. Each category has unique attributes — editing them affects the entire site where they’re applied.
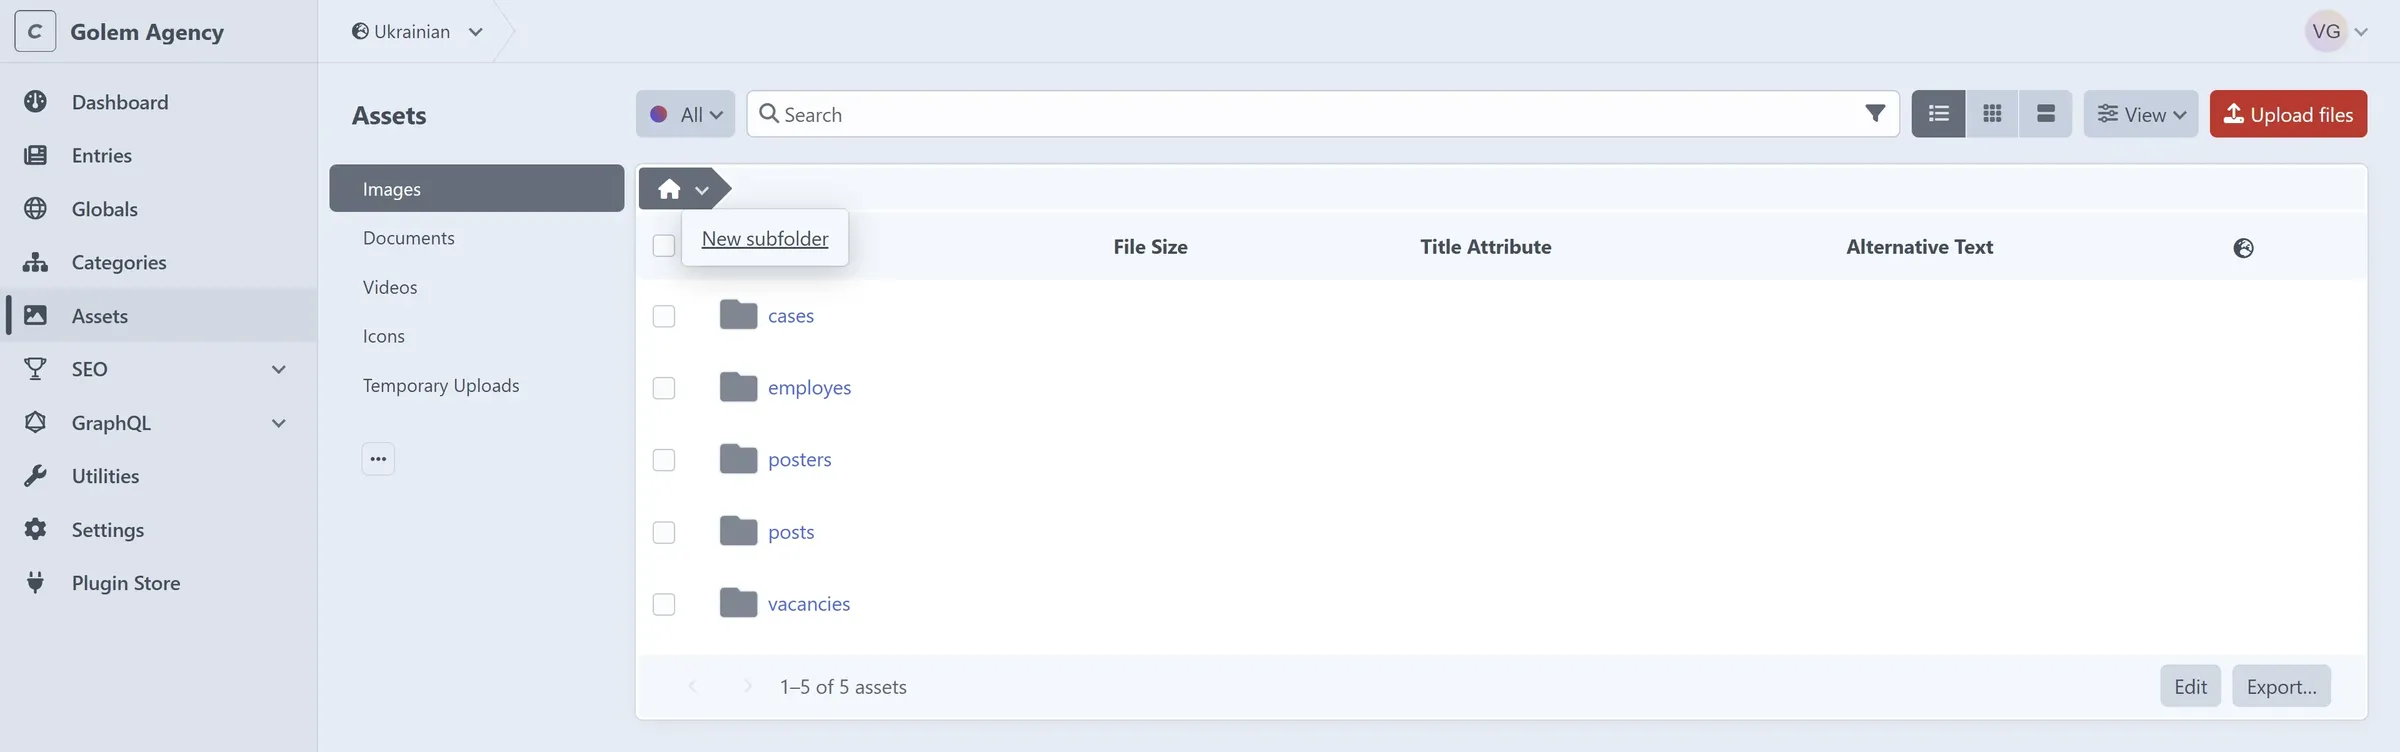
Assets
Every site’s media library has at least four tabs: images, documents, videos, and icons. All files uploaded during content updates land here automatically. The interface is straightforward, but Craft CMS newbies often ask: 'How do I create folders to organize files?' Click the arrow icon in the breadcrumbs and select New Subfolder from the menu.
Page Editing
Breadcrumbs
In Craft CMS, breadcrumbs in the admin panel are a handy tool. Use them to switch site languages for content updates, jump between page groups, or check the version history of the page you’re editing.
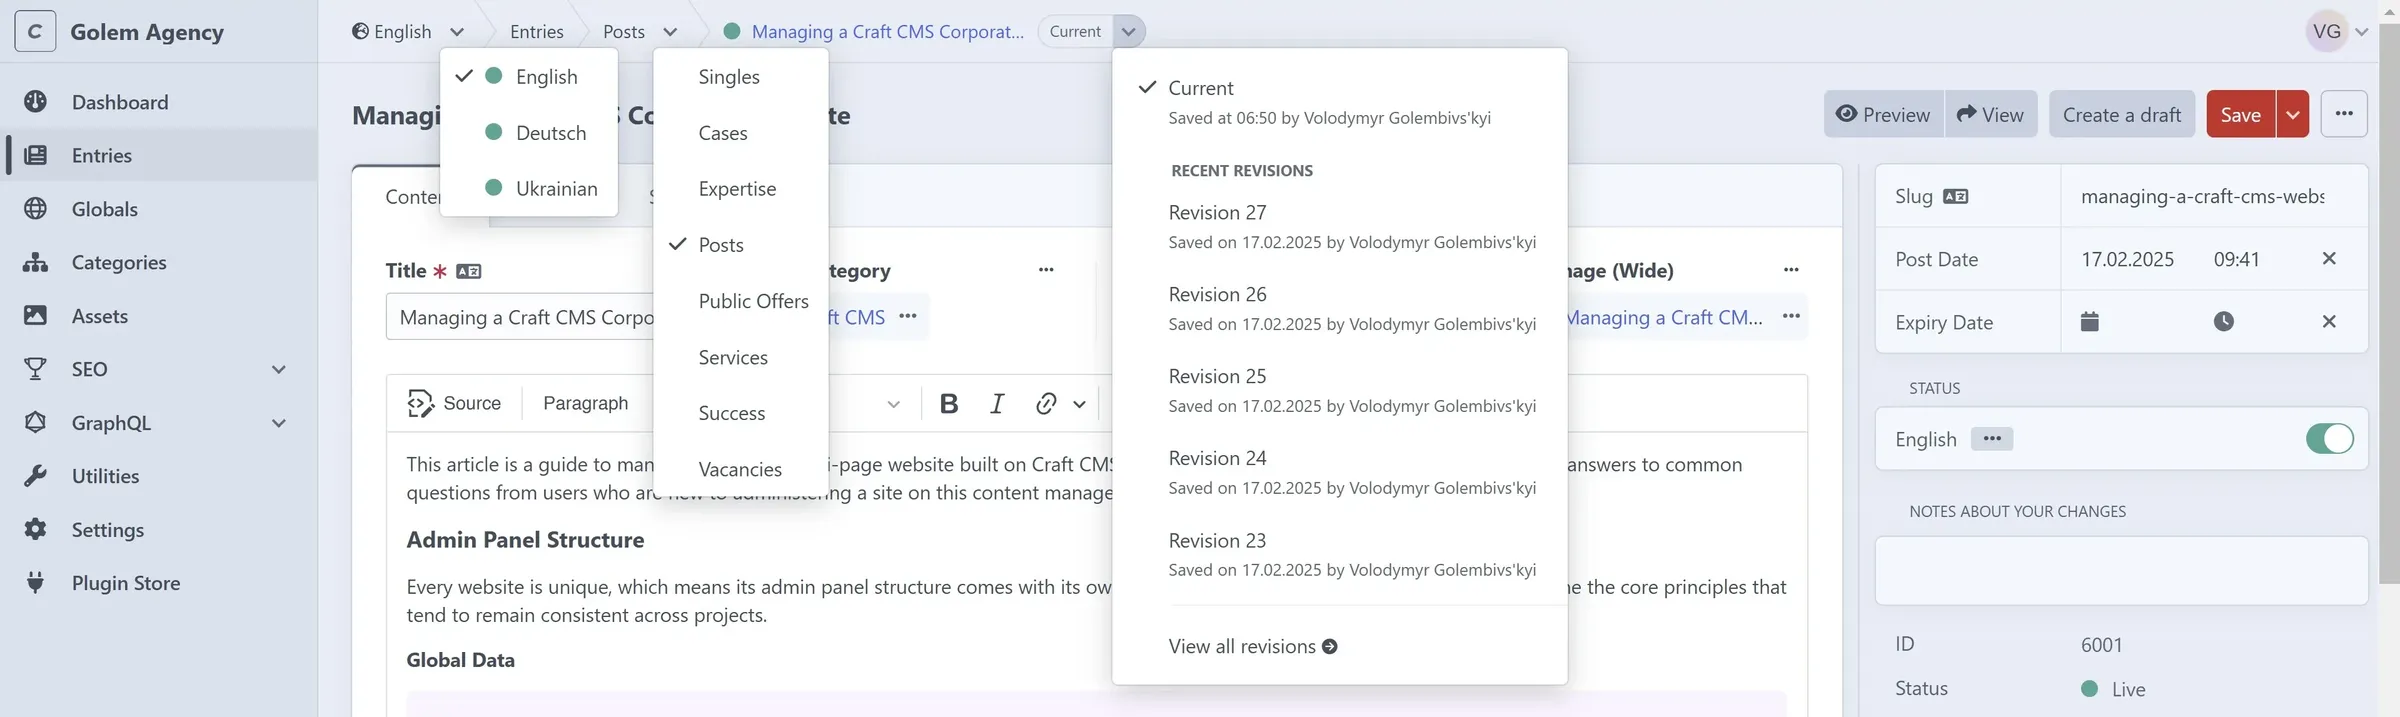
Version history in Craft CMS is your safety net. Every page change is saved automatically, so you can revert to an earlier version if things go wrong. To check it, open the breadcrumbs, pick your page, and click the version you want. It saves time and prevents headaches — editing stays safe and under control.
Right panel
In the right panel, edit the slug — the URL part shown in the browser. You can tweak it separately for each language. Set the publication date and time for a page (post, news, product) here too. By default, saving uses the current date, but pick a future one, and it’ll schedule the page for that moment. The Expiry Date field is empty unless you set a date for the page to auto-unpublish. In the Status section, publish or unpublish the page across different language versions.

Above the sidebar, Preview and View buttons streamline your content work. Preview lets you see page edits live — tweak text or images and instantly check the outcome, no refresh needed. It saves time, especially on big screens where every detail pops. View opens the live page in a new tab — perfect for confirming it’s client-ready right then and there.
SEO
Title & Description
To add or edit the title and description meta tags, open any page in edit mode, go to the SEO tab — you’ll find the meta tag fields there. Keep the Title under 60 characters and the Description under 160 to fit fully in search results.

On the SEO tab, set Focus Keywords — the terms you’re optimizing for. The system scans your page (headings, text, meta tags, URL) and gives you a Page Score showing how well it’s tuned to those words. You’ll also get tips: add the keyword to subheadings or boost its density in the text. It’s all in a clear field that previews how your page looks in Google results. The payoff? SEO-friendly content without the hassle.
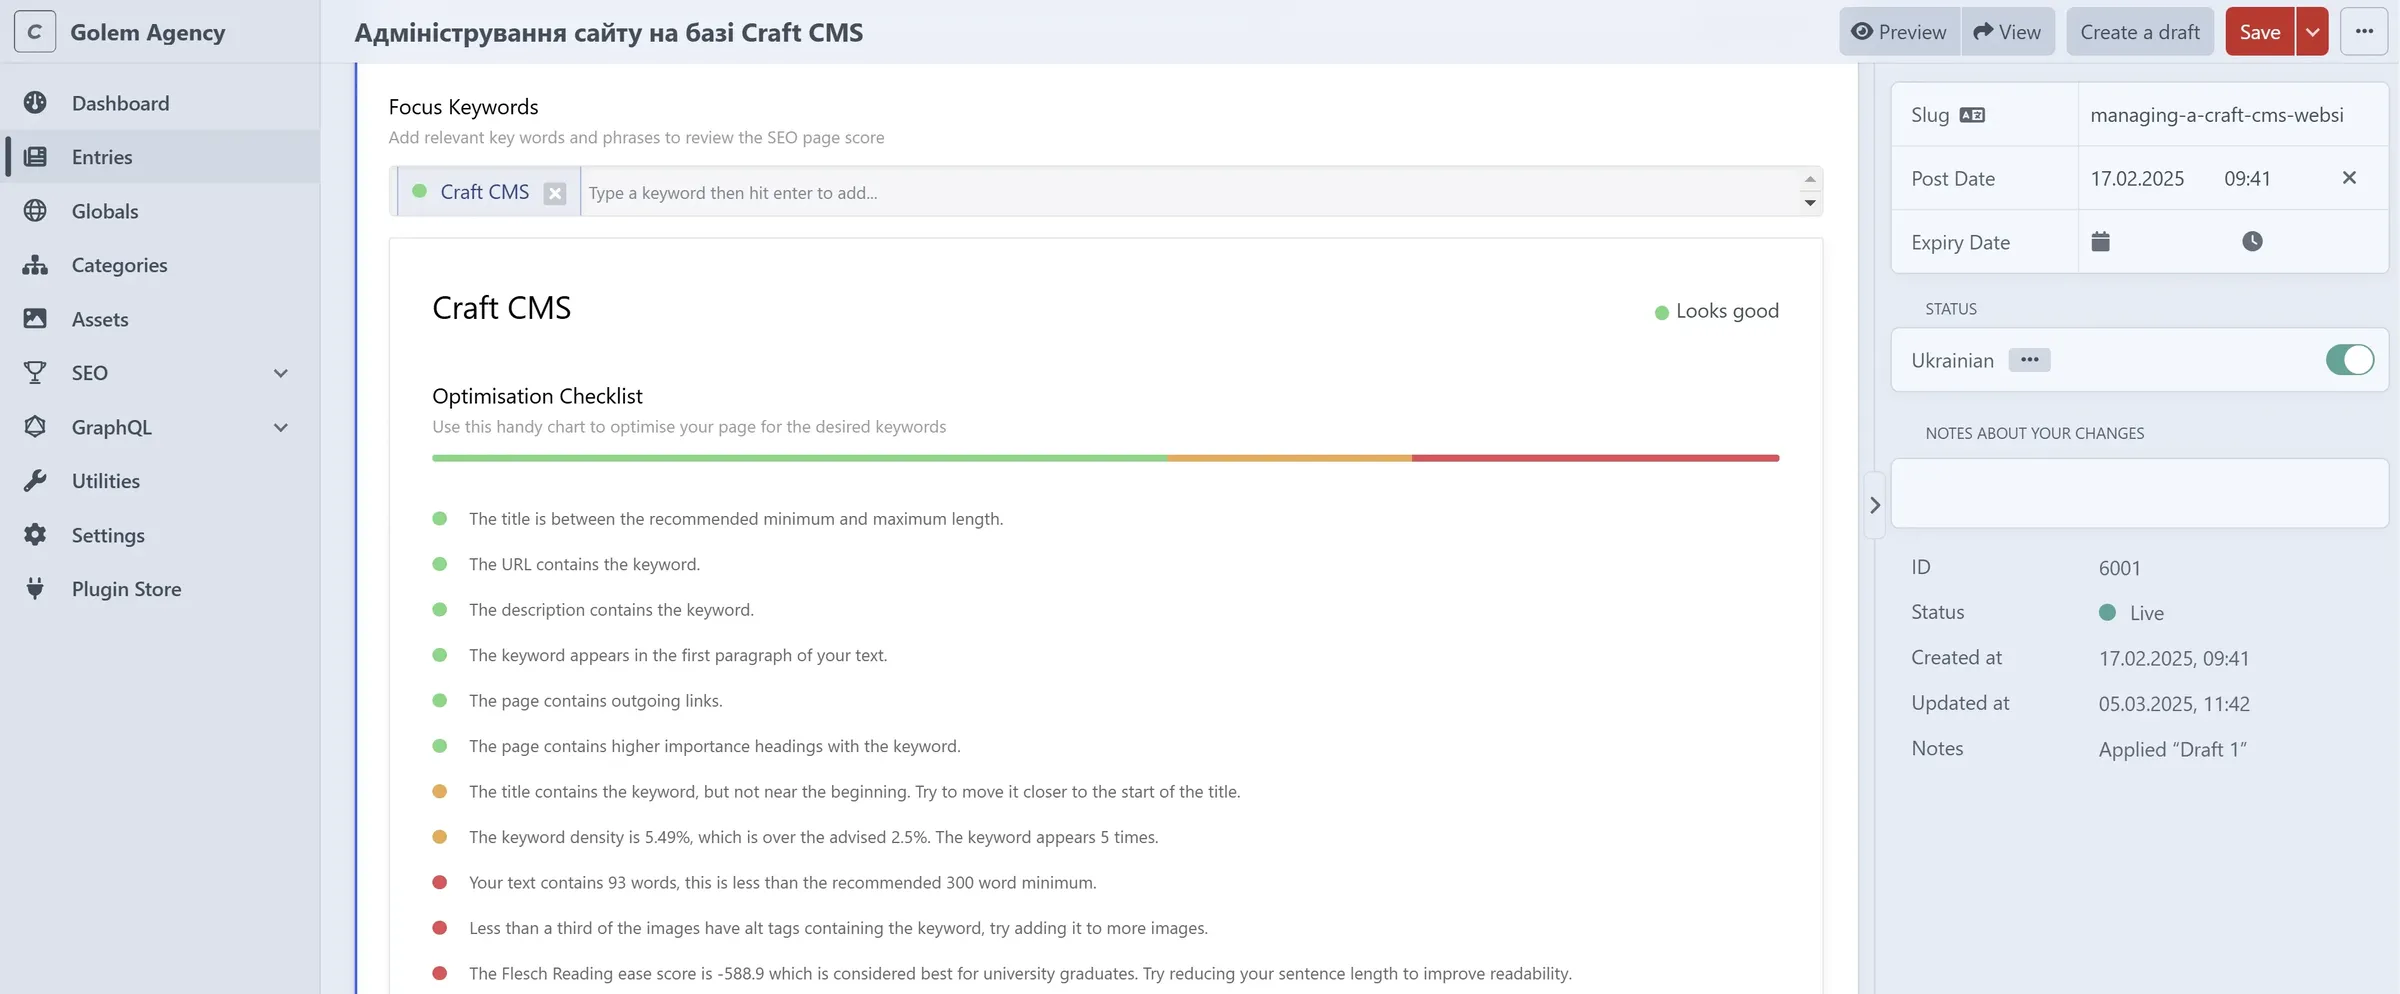
Image attributes
To edit alt and title attributes, go to the media library: Assets -> Images. Click the image — you’ll see Title Text and Alternative Text fields in the window. Switch languages in the breadcrumbs to set attributes for different site versions.